
The Best Way to Pack Framed Pictures for Moving
While many people find moving from one home to another to be a pain in the you-know-what, I’ve always found it exciting. My favorite part about moving into a new space is putting up the same, well-worn decorations I’ve had in every home for the past 20 years (with some variation, but less than you’d expect!).
So, you can imagine my frustration when, in the height of my excitement, I begin to unpack my favorite framed artwork, a colorful floral painting won at a children’s auction, and my favorite framed photo of my great aunt with Jonas Salk, and UGH! Not only has the glass in both frames broken, the shards have scratched the works and are spilled all over my other items!
I will not get out of this one without a few bloody fingers. This only had to happen once before I began packing my framed items more carefully. This is what I’ve learned…
There are a few ways to go about safely packing your picture frames when moving, depending on your finances, space, time, and energy. According to arguably the best moving company in Queens, Moving Companies Queens, these range from purchasing proper packing materials and doing it yourself, to hiring a company to take on the effort and liability, to using what you already have and making do (my preferred method).
So You Want To Do It Right, Your Way
Information abounds regarding the best way to pack up framed items. It’s quite simple, and there are many products you can purchase to make it much easier on you. Some suggested items, available on Amazon.com, are as follows to get you started:
In brief, cut strips of the painters tape and make a checkerboard, or large X, across the glass of your frame. This will help contain some of the glass if it does end up breaking. Painter tape is ideal because it is really easy to peel off afterward, and does not leave any residue.
Next, wrap a layer of packing paper around the item, and tape it on (I’d recommend the stronger packing tape at this point, as opposed to the painter tape). Give it a wrap of the bubbles, and tape.
Now apply the cardboard corner supports to protect the edges of your frames (you may find that the bubble wrap won’t fit under the cardboard supports, so use your best judgment to determine which will be more protective in your situation. You could also wrap the item in bubble wrap after you put the corners on).
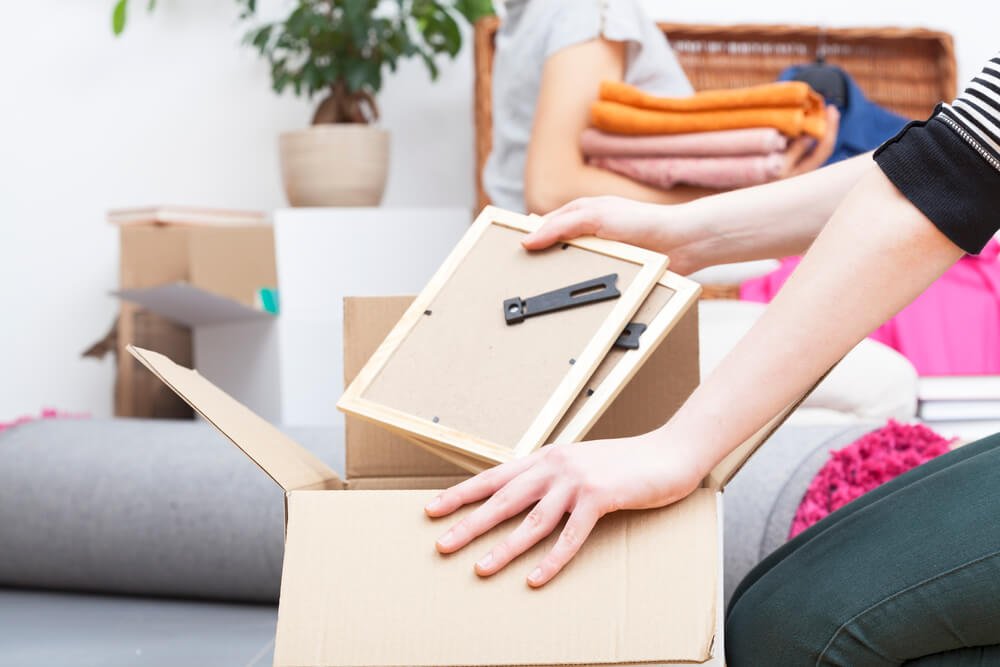
To box the items, place frames upright in the box with bunches of packing paper in between each frame, as well as between the outer frames and the box sides. Add more packing paper to fill any space between the tops of the frames and where the box top will close.
Basically, try to fill any open areas in order to prevent your items from shifting in the box. Tape your box up well with the packing tape, two strips over the top and bottom creases each, and give a good wrap around the outside at each end to add support. Finally, use your marker to identify the following: THIS END UP, DO NOT LAY FLAT, FRAGILE, or any other combination you feel suits those who will be handling the items.
Alternately, if you wish to pack a frame individually, instead of taping your box together as usual, while still flat, tape one end, creating an envelope effect, and slide your frame inside. There is less padding doing it this way, but it still offers some protection on the edges.
Also, if you have an item that is too large for an individual box, you can slide two (or more) boxes together in this envelope manner, creating a larger end product in which to slip your frame.
To Heck With All That, You Say, Let Somebody Else Do The Work!
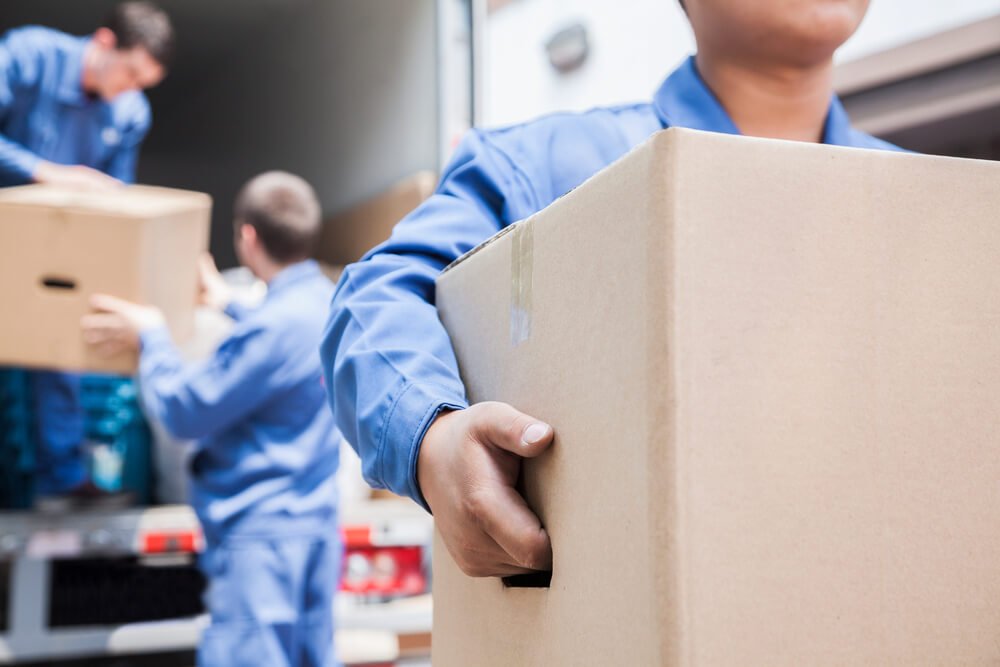
If that all seems too overwhelming to you, or you simply don’t have the time and energy to bother with it, hire a moving company to do the work for you. Not only will they have the supplies to properly pack and transport your items, they will likely have liability insurance to cover any damages they may cause. In fact, according to the United States Department of Transportation Federal Motor Carrier Safety Association’s document, Your Rights and Responsibilities When You Move, “all moving companies are required to assume liability for the value of the household goods they transport.”
More on how the Federal Motor Carrier Safety Association can help you with a successful move can be found here. Hiring a company won’t go unnoticed to your wallet, however, each framed item can cost upwards of $40 to be packed properly and transported.
When the Above Options Cost Too Much – Be Resourceful!
The final option outlined here is by far my favorite method. It uses the same techniques as the first, while saving on both space and money.
Consider what else you are packing for your move that may serve as useful alternatives to packing supplies that can be purchased. For instance, I use dish towels, socks, and old magazines or newspapers to act as packing paper – I have to pack most of those items anyway, so this puts them to use while saving space.
Items like old pizza boxes (if not too greasy) can double as a suitable box for some framed items, just be sure to tape them up well, as they are a bit more flimsy. Additionally, smaller frames can sit inside baking dishes, or even dresser drawers that you may remove for transport. Just use your linens as filler to eliminate the space between the edges, and add tape to keep the items securely within your container.
One thing you will want to ensure is containment of the glass should it break. Either tape the glass as mentioned above, or be sure to wrap it in something that glass shards will not cling to (I once used a soft towel and thought I had shaken all the glass out, whoops! My scratched hands soon told me otherwise – be careful!).
The point is, use your imagination. You likely have the resources to attain all the benefits from the first option without spending loads of money, and extra space, on additional products.
Moving can be fun!
Wrapping up one chapter of your life (quite literally), and reopening the book in a new location is an opportunity, embrace it. Sharing the decor from one to the other creates a web of memories and maintains a touch of your individuality. For sure though, you will be happier with unharmed items once you arrive at your new locale, so consider your options, and depending on your finances, space, time, and energy, make the choice that works for you. Happy moving!