

What are the Stages of Roofing?
Putting up a new roof can be a big undertaking. It allows you to replace some of the older shingles and add more protection to the home than ever before. A new roof looks nice and can help keep the home safe, whether you want to sell the home or you are looking to just make it look better than before. But what are the different stages of roofing your home?
There are several steps to roofing, says Brighton Roofing Contractors. They are contractors who handle roofing in Brighton, CO. You will need to remove all of the old parts and then start laying down the different layers like the underlayment, tar paper, and flashing. Then it is time to add on a few layers of shingles, securing them down with nails to make it stay put. Finish off with cleaning up all of the mess that you have made and enjoy the good looks of a new roof.
Let’s take a closer look at some of the different steps that you will need to do to help put a new roof on your home. Some of the different stages of roofing you can consider include:
Remove the Old Roof
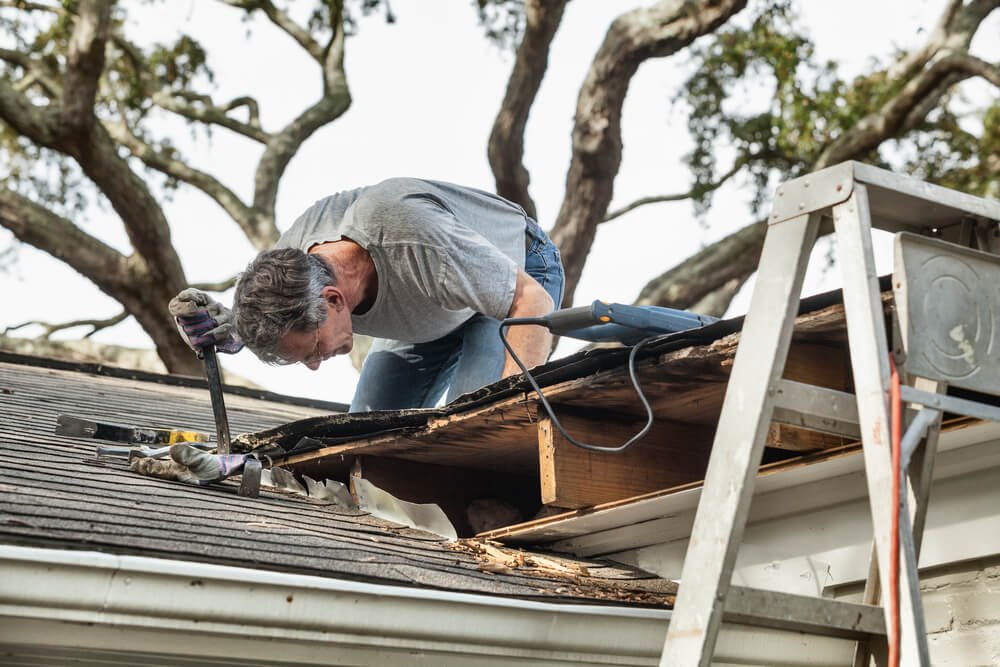
The first step to roofing is to remove the old roof. You can’t just put new shingles on top of the old ones. You need to remove all of the exterior layers, including the nails, to make sure that the roof is prepared to put some of the new stuff down. Have some removal options, like a dumpster, to help make it easier to take the roofing material off.
Install the Underlayment
When the roof is cleared off, you need to put a self-adhesive underlayment on the bare roof. This needs to be waterproof because its main job is to protect the roof against snow, rain, and wind. There are some building codes in certain areas so you will need to read up on these ahead of time.
Add Tar Paper
Add some tar paper to the underlayment to provide another layer of protection. You need to use either No. 15 or No. 13 felt paper because this is specially treated so that it is impervious to water. As you place it on the roof, make sure that each successive layer is overlapped two inches to boost how water resistant it is.
Add Flashing
A drip edge flashing put along the eaves can help make the roof look a bit nicer. You can simply nail it down in place. The drip edge is meant to prevent the materials from curling over the edge and gives the nice finished look you want.
Lay the Start Shingles
Roofing specialists refer to the first shingles as the starter ones. You need to get the placement and the orientation correct because this is the base for all the other shingles. Using chalk lines to help guide the shingles can help.
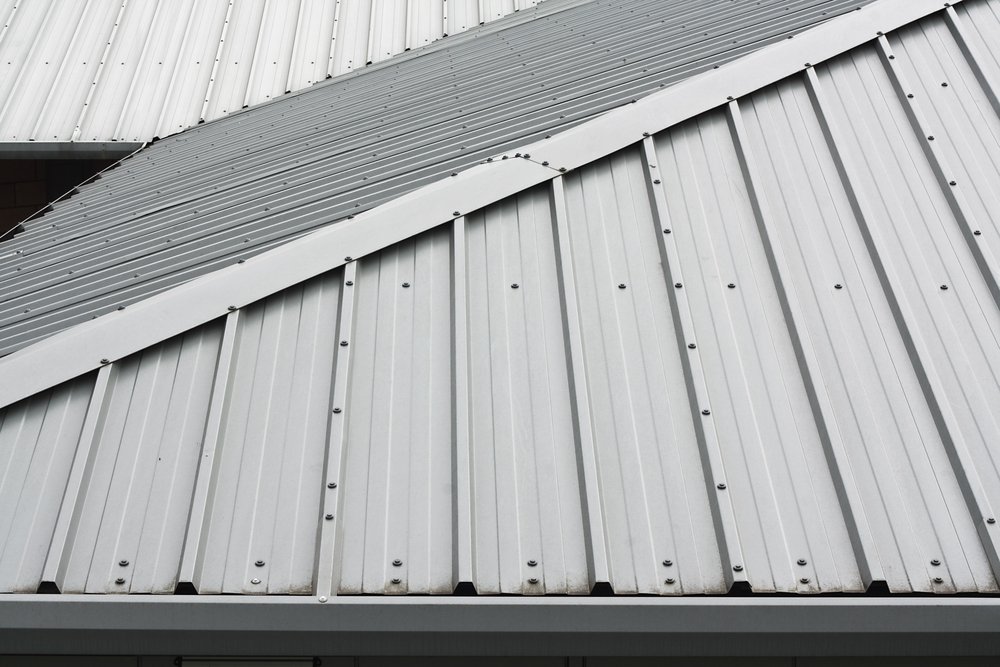
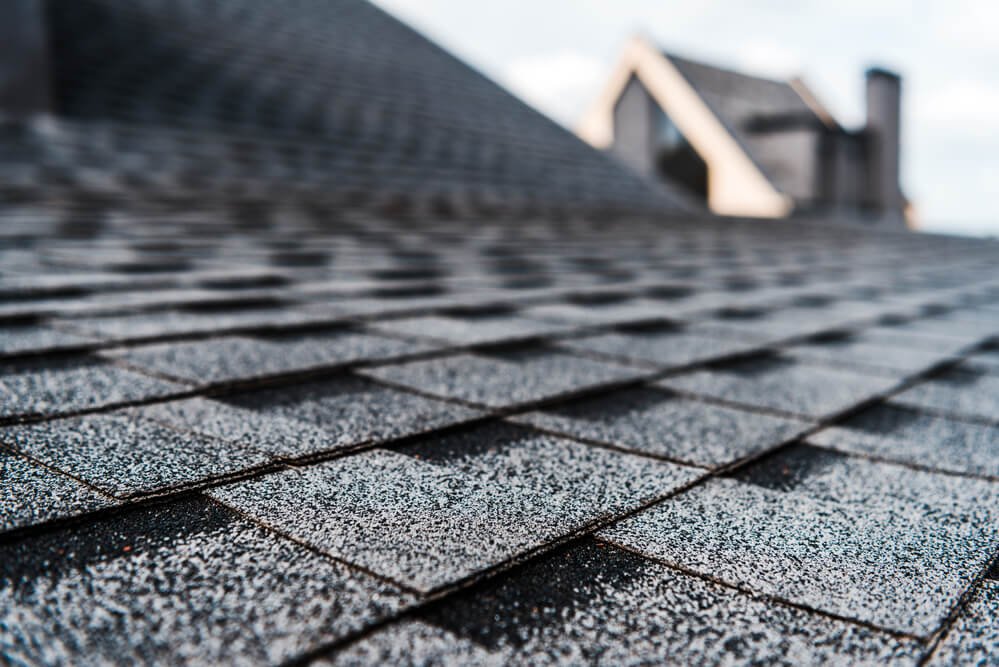
Install the Shingles
This is where we can lay the exterior layer of the shingles. You will still need to work with the overlapping principle to make sure that they provide some more protection too. Many roofing contractors will have the first row with a slight overhang on the drip edge to help out, but never do more than ¼ of an inch.
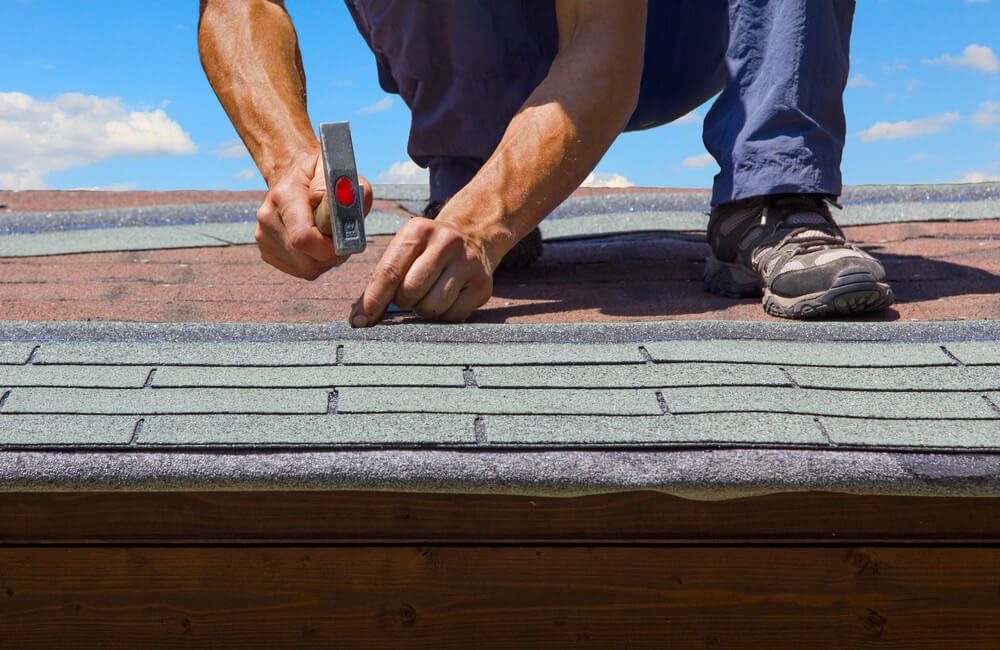
Nail the Layers
You need to get the most protection from rain and wind so you must make sure the materials stay tight on the surface by nailing them in place. Add a nail to each layer of shingles to help keep them in place.
Add more flashing as needed
If you would like to add a bit more protection to the roof, you can install some of the flashing as well. The dormer flashing will be over the whole structure that protrudes from the house and will protect against the rain and more.
Cap the Ridge
The ridge is going to be on the top of the roof and should be easy to find. You will need to cap this ridge to make sure that the roof gets all the protection that it needs and no rain or other water and wind can get into the home.
Do the Clean Up
The final step is to do some clean up to take care of all the little steps. If there are nails sticking out, you should hammer them down. Clean up all of the stuff that Is still on the roof and anything on the ground to get it cleaned up and ready to go.
Replacing Your Roof
Replacing your roof does not need to be difficult, but adding more layers and ensuring that each layer is put down securely can help your roof look amazing. If you are worried about how to get the roofing done, it may be worth your time to find a roofing contractor who is able to get all of the work done for you.