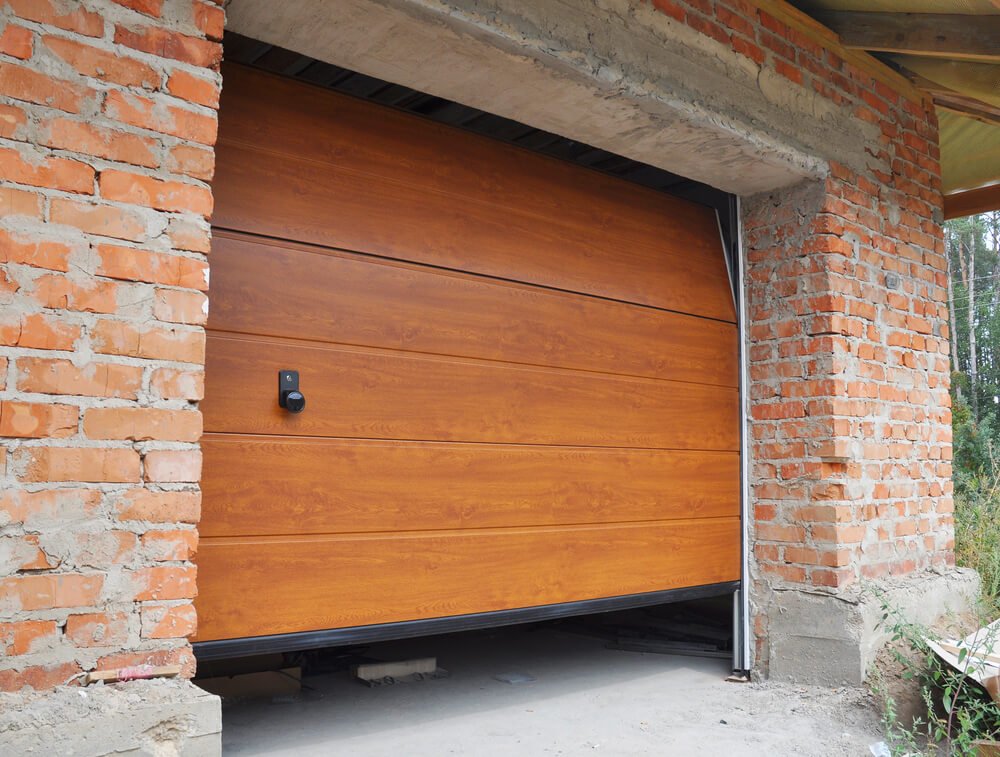


How to Fix Garage Door Torsion Springs and Lift Cables
Replacing any sort of tensioned spring or cable is an inherently dangerous job, so before you go losing your eyeballs or your life make sure to do your homework. Nabors Garage Doors Alpharetta, an Alpharetta garage door repair company, has shared the most important things to know.
Basic Rules of Thumb When Working on Your Overhead Door
When fixing any part of your garage door, you must remember that these pieces are under heavy stress and any mishandling will likely land you in an ambulance.
If you’re an absolute novice with a wrench, just go ahead and call someone who knows what they’re doing. It may cost you a bit extra, but it could save you a whole lot of trouble in the long run.
Before beginning any project, make sure to unplug the power cable to the overhead door motor. Never leave power plugged in when you’re working on moving parts or bad things will happen.
Always wear safety glasses and leather gloves, and make sure your ladder is of high quality and in good repair.
Another good practice is to take a welder’s clamp or locking pliers and clasp it into the track just above a roller wheel with the door in its down position. That way if something was to go amiss and the door came shooting up off the ground, you’d have a contingency plan in place.
Lastly, make sure to disconnect the door arm from the chain by either pulling down on the little hanging T-handle above you or disconnecting it manually if you don’t have the pull cord.
Running up and down a ladder while figuring out what tools you need can be a royal pain, so be sure to get a list of tools mapped before you begin.
How Overhead Door Springs Work
In the case of raising and lowering your garage door, you will most likely have a torsion spring system doing the job. You may have side-mounted springs, but either way, they achieve the same result.
The purpose of the springs is to act as an assistant for the overhead motor (or human should you have a manual model) when lifting the door off the ground, relieving undue stresses on the overall system.
The torsion spring setup is where the spring is coil-shaped and wraps a portion of the length on a metal shaft, which runs along the top of the door opening parallel with the floor, usually one spring for each side.
These springs are under excessive stress, so use absolute caution whenever dealing with one. as they can easily cause injury or death. You must remove the tension from either type of spring before working on the system.
As the garage door lowers, the springs are tensioned by the weight increasingly until the door fully closes. When the door is closed, the springs are at their peak tension and most dangerous state.
When attempting to adjust or replace a torsion spring, don’t be an idiot by using less-than-intelligent items like screwdrivers or punches to unwind the springs. You need a set of proper winding bars and you need to know how to use them properly. This is imperative.
The Procedure
What you need to do is insert one of your winding bars into a hole on the winding cone furthest from the center chain track.
While keeping slight upward force on the bar, use a wrench or socket to loosen the two set screws that hold the cone in place on the shaft.
After loosening the screws, set your wrench down and slowly lower your winding bar so it rests pointing downward against the garage door frame. The tension against the frame will keep the winding bar from falling out.
Grab your other winding bar and insert it into the next higher hole in the winding cone so you now have two bars inserted. By lifting up slightly on the top winding bar, you can remove the bottom one and lower the remaining bar to the door frame again.
Repeating this process will take any tension off of the spring. In a normal circumstance, the door should have roughly thirty quarter-turns of tension built up. Each spot for the winding bar is a quarter turn from the last, so if you let a handle hit the door frame thirty times you should be right in the neighborhood.
Whichever side you decide to start from, make sure you unwind the outboard cones on both springs before moving toward any work on the middle cones. Once the springs are slackened, then you can go ahead and loosen the bolts in the center winding cones and pull the springs completely loose.
Once you have your springs free, it’s time to loosen the cable drums at the very ends of the torsion shaft.
Make sure the lift cable is indeed slack before doing this step because if it’s not you need to make sure your springs are completely loose.
Assuming everything is good, loosen the two bolts keeping the cable drum to the shaft and slide it free. Repeat this on each side of the door.
At this point, you will be able to remove the lift cable from the drum and replace it if necessary, so if that’s all you’re doing, go ahead and reassemble everything in reverse order.
Once everything along the entire torsion shaft is loose you can remove the pieces from each end by sliding the shaft first to one side and then the other. There is no need to remove the shaft completely.
When installing your new springs, make sure you get them on the correct sides. If you have a left-hand thread, you want it on the right-hand side from inside the garage, and vice-versa.
Installation is the reverse of removal. Bolt the inside winding cones first. Be sure to wrap the cable drums so the cable runs off it on the door side than toward yourself, then go ahead and tighten down the drum to the shaft.
When you wind up your springs, clamp a pair of locking pliers somewhere on the length of the open torsion shaft. ou’ll be pushing the winding bars up at the ceiling this time, and the plier handles will hit keeping the shaft from spinning.
Repeat upward quarter-turns thirty-one times.
When this is complete. you can lower the bar to the door frame and tighten your winding cone set screws. Use caution when relieving pressure after install so nothing breaks loose violently. Repeat on each side, and you’ve got a working door!