

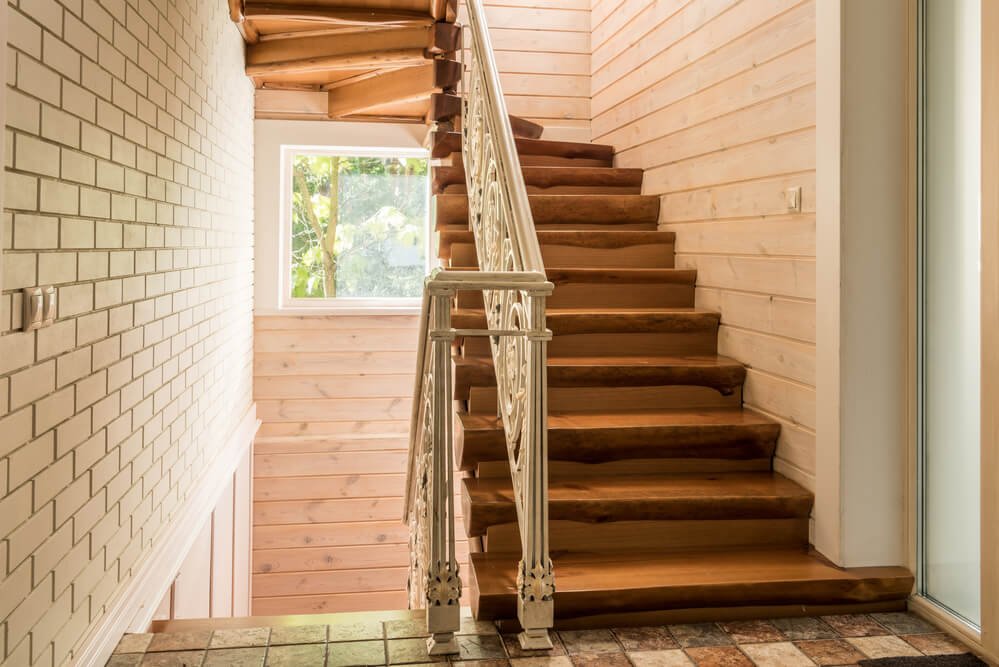
Fix Those Creaky Stairs Yourself
What can be more irritating than that creaking, squeaking sound each time you take a step? It becomes even more frustrating if there are kids around and you’re a light sleeper. This is the situation many have to often cope with. What if I told you there is a simple, cost-effective, time-saving way to fix that your particularly creaky stairs? And you can do it all by yourself! With the help of DS Brothers Ltd, a company of builders in London, I will show you how to permanently fix those annoyingly creaky stairs.
Why Do Stairs Creak?
Stairs squeak due to friction. These frictions could be wood rubbing against metal or another piece of wood. This can be caused in two ways; wood rubbing against wood squeaking could occur as a result of wood shrinking. The second form, which is the most common, occurs when wood rubs against metal. This happens when one or more of the nails keeps pushing in and out of the nail hole. This is a normal thing in which nails begin to loosen from the wood to which it has been nailed as a result of the frequent traffic and pressure the stairs get.
Tools and Items Needed
- Safety goggles
- Protective gloves
- Cordless drill
- Pry bar
- Hammer
- Screws and nails (2, 21/2 and 3 inches screws or nails)
- Marker or painter’s tape
- Wood adhesive or glue
Step by Step Guide to Fix Creaky Stairs
If you have a carpet covering the steps, I would advise that you remove the carpet first before you proceed with any of the steps below. When you are through, you should then replace the carpet.
- Locate: The first thing to do is to locate the particular step or steps that squeak. You can do this by getting another person to jump on each of the steps while you mark the suspicious steps. You could also do the testing of each step by yourself if there is no other person available. The important thing is to locate the specific squeaking steps and use a marker or painter’s tape to mark them.
- Inspect: The next thing is to inspect the marked portion(s) of the stairs which you suspect to be the cause of the creaking sound. Look for two things: Have any of the nails loosened? This would be evident if the nail is protruding or uneven like the others. Also, check to see if there is any uneven gap in between the joints (check the riser, tread and stringer).
- Re-Nailing: Having identified the creaking parts with loosened nails, re-tighten that same loose nail by hammering it back into its hole. You will have to drive in a fresh nail or screw because re-nailing it alone would be a temporary solution. We will discuss that in another point.
- Apply Adhesive: If you noticed any uneven gap in between any of the joints (this will be evident if you inspect the space between the unaffected parts), apply adhesive to bridge the gap between them. If the gap is too big, you can insert wooden chips that you have cut to size into the gap and glue them together.
- Double the Nail(s)/Screw: Depending on your choice and/or the materials available, you could either use nails or screws for this final step. Let us first discuss using nail. Next to where the formerly loosened nail/screw is located, hammer in a fresh nail so as to secure it. If you would be using screws, which I would highly recommend, the process would be different. It is as follows:
- Drill: Drill a hole next to the loosened nail/screw. Ensure the hole is right beside the loosened nail so as to ensure it goes right into the tread.
- Add Glue: Pour in a bit of glue into the hole. This is to ensure that the screw doesn’t get loosened like the previous one. The glue would prevent the screw from neither loosening nor pushing up and down causing a creaking sound.
- Screw: The final step is to drive in a screw into the hole with the glue in it.
Conclusion
Do not stare at those creaking stairs anymore, do it yourself! Below is a recap of how you can do it:
- Locate the creaky part
- Inspect it to learn what the cause of the creaking sound is
- Re-nail any loose nail/screw
- Apply adhesive to bridge any uneven gap
- Double the nail if you prefer nails to screws
- Drill a hole next to the loosened nail
- Add glue into that hole for permanence
- Drive in a screw to secure it to the tread
If you do not have the equipment and tools listed above, you could go to the closest multipurpose store close to you or simply order them straight from Amazon.